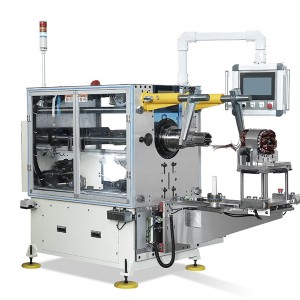
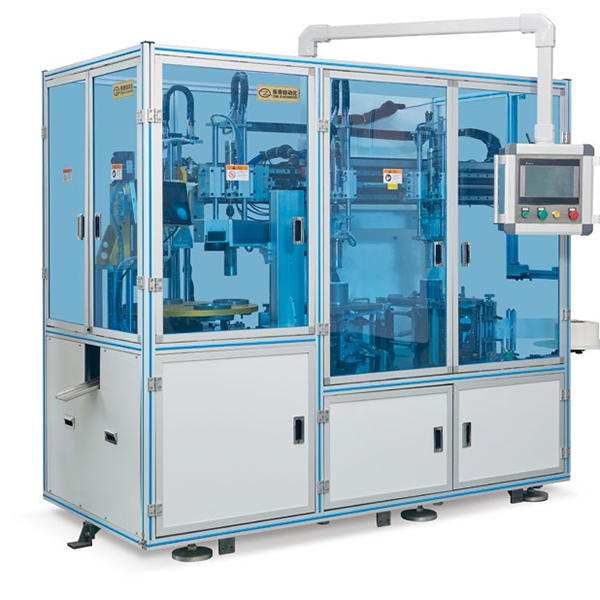

Measuring Trough, Marking And Inserting As One Of The Machine
Product Characteristics
● The machine integrates groove detection, stack thickness detection, laser marking, double position paper insertion and automatic feeding and unloading manipulator.
● When the stator inserts paper, the circumference, paper cutting, edge rolling and insertion are automatically adjusted.
● Servo motor is used to feed paper and set the width. The interpersonal interface is used to set the required special parameters. The forming die is switched to different grooves by itself.
● It has dynamic display, automatic alarm of paper shortage, burr alarm of groove, alarm of iron core misalignment, alarm of overlapping thickness exceeding standard and automatic alarm of paper plugging.
● It has the advantages of simple operation, low noise, fast speed and high automation.
Product Parameter
| Product number | CZ-02-120 |
| Stack thickness range | 30-120mm |
| Maximum stator outer diameter | Φ150mm |
| Stator inner diameter | Φ40mm |
| Hemming height | 2-4mm |
| Insulation paper thickness | 0.15-0.35mm |
| Feeding length | 12-40mm |
| Production beat | 0.4-0.8 seconds/slot |
| Air pressure | 0.6MPA |
| Power supply | 380V 50/60Hz |
| Power | 4kW |
| Weight | 2000kg |
| Dimensions | (L) 2195* ( W) 1140* (H) 2100mm |
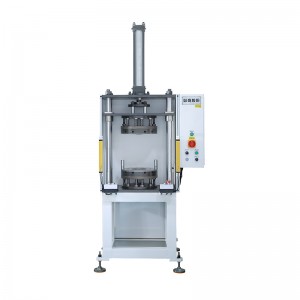
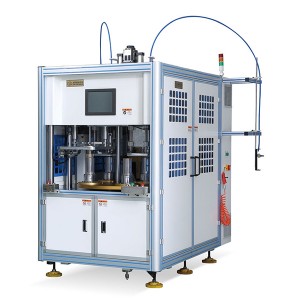
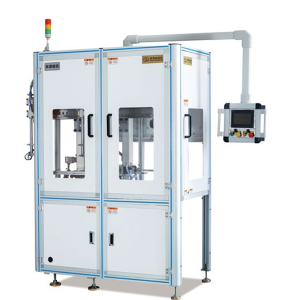
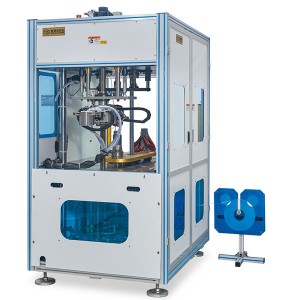
Structure
Tips for using the automatic paper inserter
The paper inserting machine, also known as the microcomputer numerical control rotor automatic paper inserting machine, is specifically designed to insert insulation paper into rotor slots, complete with automatic forming and cutting of the paper.
This machine operates by utilizing a single-chip microcomputer, with pneumatic components serving as the power source. It is conveniently installed on a workbench, with the adjustment parts of its active components located on the side and the control box positioned above for ease of use. The display is intuitive, and the device is user-friendly.
Installation
1. Installation should be done in an area where the altitude does not exceed 1000m.
2. Ideal ambient temperature should be between 0 and 40℃.
3. Maintain a relative humidity below 80%RH.
4. Limit the vibration to below 5.9m/s.
5. Avoid placing the machine in direct sunlight, and ensure that the environment is clean, without excessive dust, explosive or corrosive gases.
6. It must be grounded reliably before use to prevent electrical hazards if the housing or machine malfunctions.
7. The power inlet line must not be smaller than 4mm.
8. Securely install the four bottom corner bolts to keep the machine level.
Maintenance
1. Keep the machine clean.
2. Frequently check the tightening of mechanical parts, ensure electrical connections are reliable, and that the capacitor is functioning correctly.
3. After initial use, turn off the power.
4. Lubricate the sliding parts of every guide rail frequently.
5. Ensure the two pneumatic parts of this machine are functioning correctly. The left component is an oil-water filter cup, and it should be emptied when a mixture of oil and water is detected. The air source usually cuts itself off when emptied. The right pneumatic part is the oil cup, which needs lubrication with viscous paper machinery to lubricate the cylinder, solenoid valve, and cup. Use the upper adjusting screw to regulate the quantity of atomized oil, making sure not to set it too high. Check the oil level line frequently.